How to Get Verified on Instagram in 2026
How to get verified on Instagram comes down to two routes: pay for a monthly Meta Verified subscription, which is cheaper on the web than in the app, or request the free badge if you're a public figure or brand that's been covered in the news. Instagram's requirements don't list a follower minimum for either one. I'll show you which route fits, what each costs, and the exact taps.
NL Nora Lindell, Growth editor · Updated Oct 6, 2026 · 6 min read
Short answer
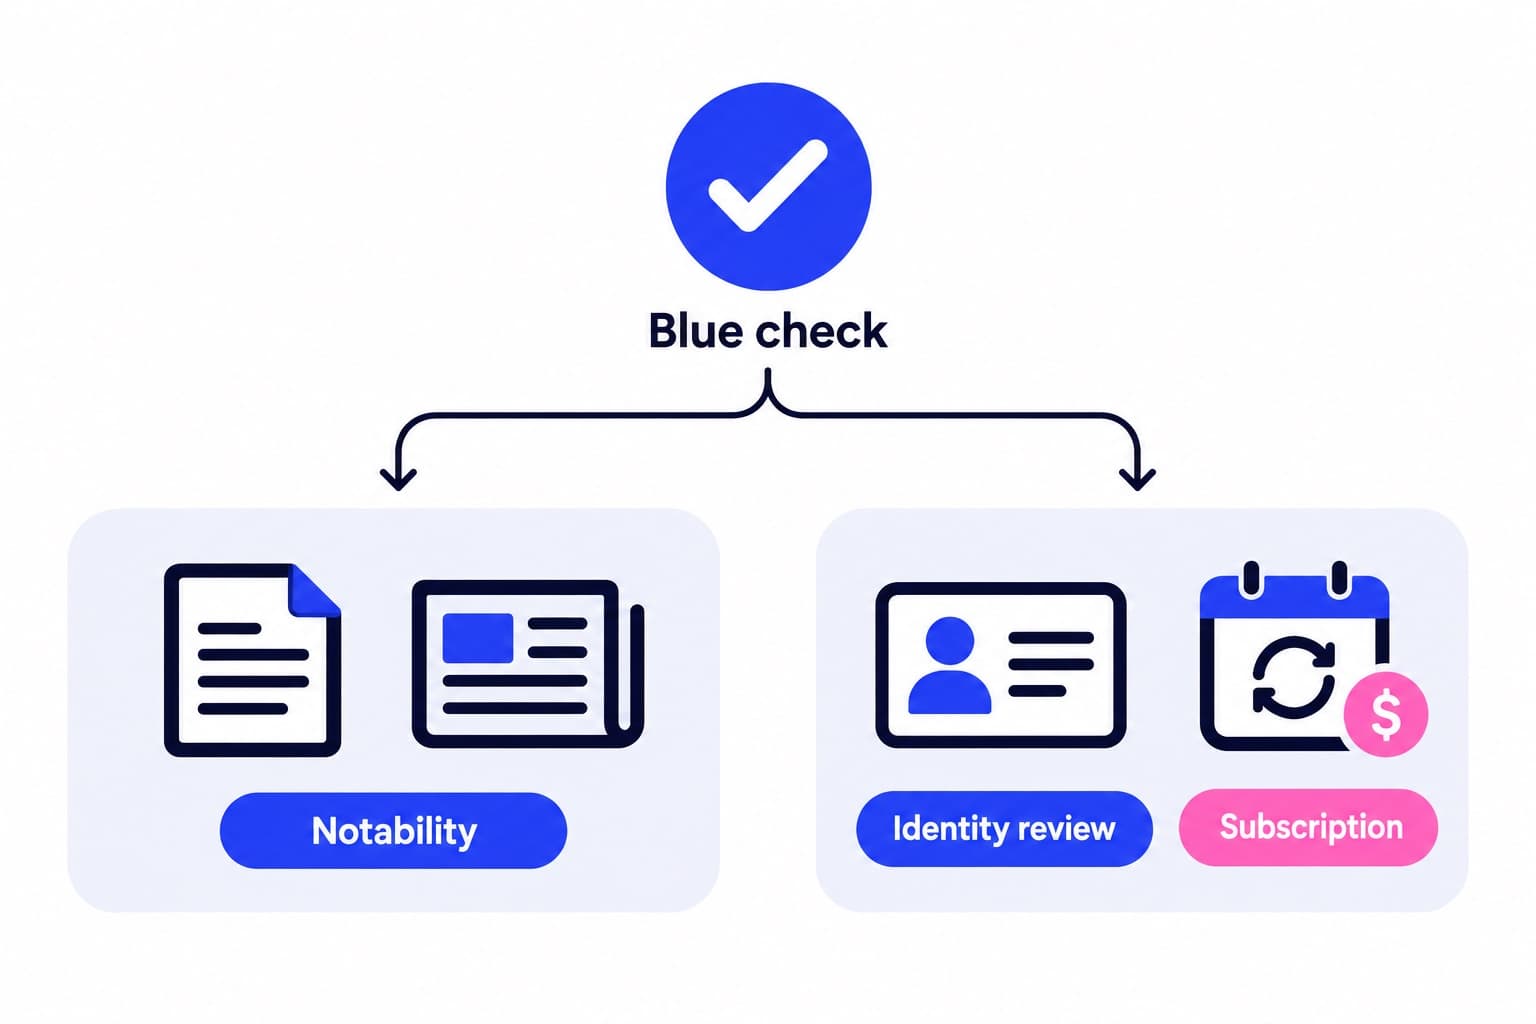
You get verified on Instagram in one of two ways. Subscribe to Meta Verified, a monthly plan that is cheaper on the web than in the app, with a government ID, or request the free badge in the app if you're a public figure or brand covered by multiple news sources. Instagram lists no follower minimum.
Which verification route fits you?
Both routes end with the same blue check next to your name. The difference is what Meta checks. The free request is judged on notability. Meta Verified is judged on identity: a government ID, a real-looking profile and a subscription. If you already have a notability badge, you can still add Meta Verified for its support and protection features.
Here's how I'd sort it in about ten seconds.
| You are | Best route | Cost |
|---|---|---|
| Creator or regular person | Meta Verified for creators | Monthly subscription, cheaper on the web |
| Public figure in the news | Free badge request | Free |
| Business or brand page | Meta Verified for businesses | Separate business plans |
| Notable and want support too | Free badge plus Meta Verified | Free, then a plan |
Meta Verified price in 2026, tier by tier
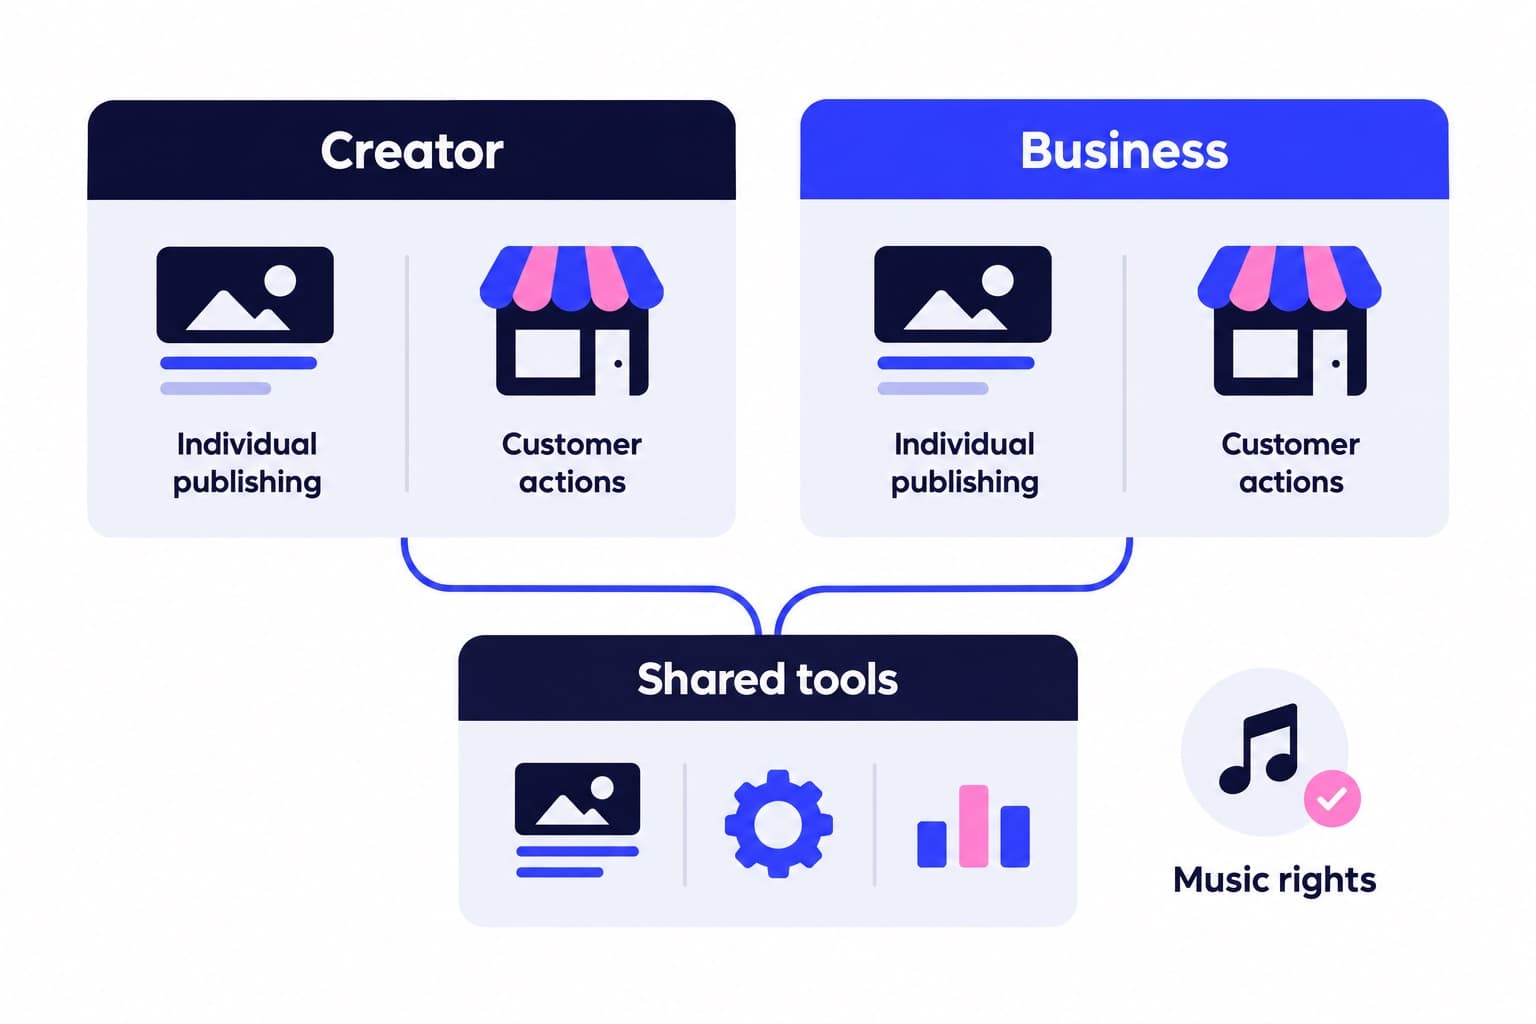
Meta offers four creator plans, billed monthly per profile and renewing automatically. Standard is the only one you can buy on the web, and it's cheaper there than in the app. Plus, Premium and Max are sold in the mobile app only. Every tier includes the badge, impersonation protection, enhanced support and discovery features such as search optimization and a featured profile.
The tiers mainly differ in how much help you get when something goes wrong.Meta has also started offering these features inside Meta One, its newer subscription, so your app may show that name instead.
You can verify one Instagram and one Facebook profile together in the same Accounts Center, and Meta gives a discounted price for that bundle. For a solo creator I'd start on Standard via the web and only move up if you actually need faster case handling.
| Plan | Price level | Sign up on | Support level |
|---|---|---|---|
| Standard | Entry tier, cheaper on the web | Web or mobile app | Chat or email with agents |
| Plus | Higher tier | Mobile app only | Faster issue resolution |
| Premium | Higher tier | Mobile app only | Request a call from an agent |
| Max | Top tier | Mobile app only | Active case monitoring |
How is your account doing?
Enter a username. The free scan reads your public numbers and compares them with accounts your size. No login.
Meta Verified requirements and how to subscribe
Subscribing takes a few minutes. Open Settings, then Accounts Center (or Meta Account settings), tap Meta Verified, choose the profile and plan, set up payment and confirm your identity. Finish within three days or the subscription is cancelled and you become eligible for a refund. Meta then sends a decision on your verification within three working days.
Before you start, check Meta's eligibility list. It's short and specific:
- Be at least 18, or the age of majority where you live, in a country where Meta Verified is offered.
- Use an Instagram personal or creator account. Business profiles go through Meta Verified for businesses instead.
- Have a government-issued photo ID that matches your profile name, and a name and photo that meet Meta's naming standards.
- Turn on Advanced Protection on the profile you're verifying.
- Meet Meta's minimum activity requirements for the account.
- Avoid a burst of recent edits to your name, username, photo or account type right before applying.
Free badge requirements: what notable actually means
For the free badge, Instagram checks four things on top of its Terms of Use and Community Standards. Notability is the one that decides most requests.
Notable means a well-known, highly searched-for person, brand or entity that's featured in multiple news sources. Paid or sponsored articles don't count. In practice that means things like a profile in your local newspaper, an interview in a trade publication, or coverage of something you launched. A press release on a wire service isn't the same thing.
There's no follower number in Instagram's criteria. But being searched for and being written about tend to follow a visible, active audience; editors look at your profile before they quote you. If you want more people in your niche to find your profile while you work on press, our Instagram growth plans promote your public profile to people who match your niche, with daily numbers in your dashboard.
Before applying, run a free profile scan to catch the basics: a public account, a filled-in bio, a clear profile photo and recent posts.
- Authentic: a real person, registered business or entity.
- Unique: one account per person or business, except language-specific accounts. Fan and meme pages don't qualify.
- Complete: public, with a bio, a profile photo and recent activity.
- Notable: featured in multiple news sources that weren't paid for.
How to get verified on Instagram for free, step by step
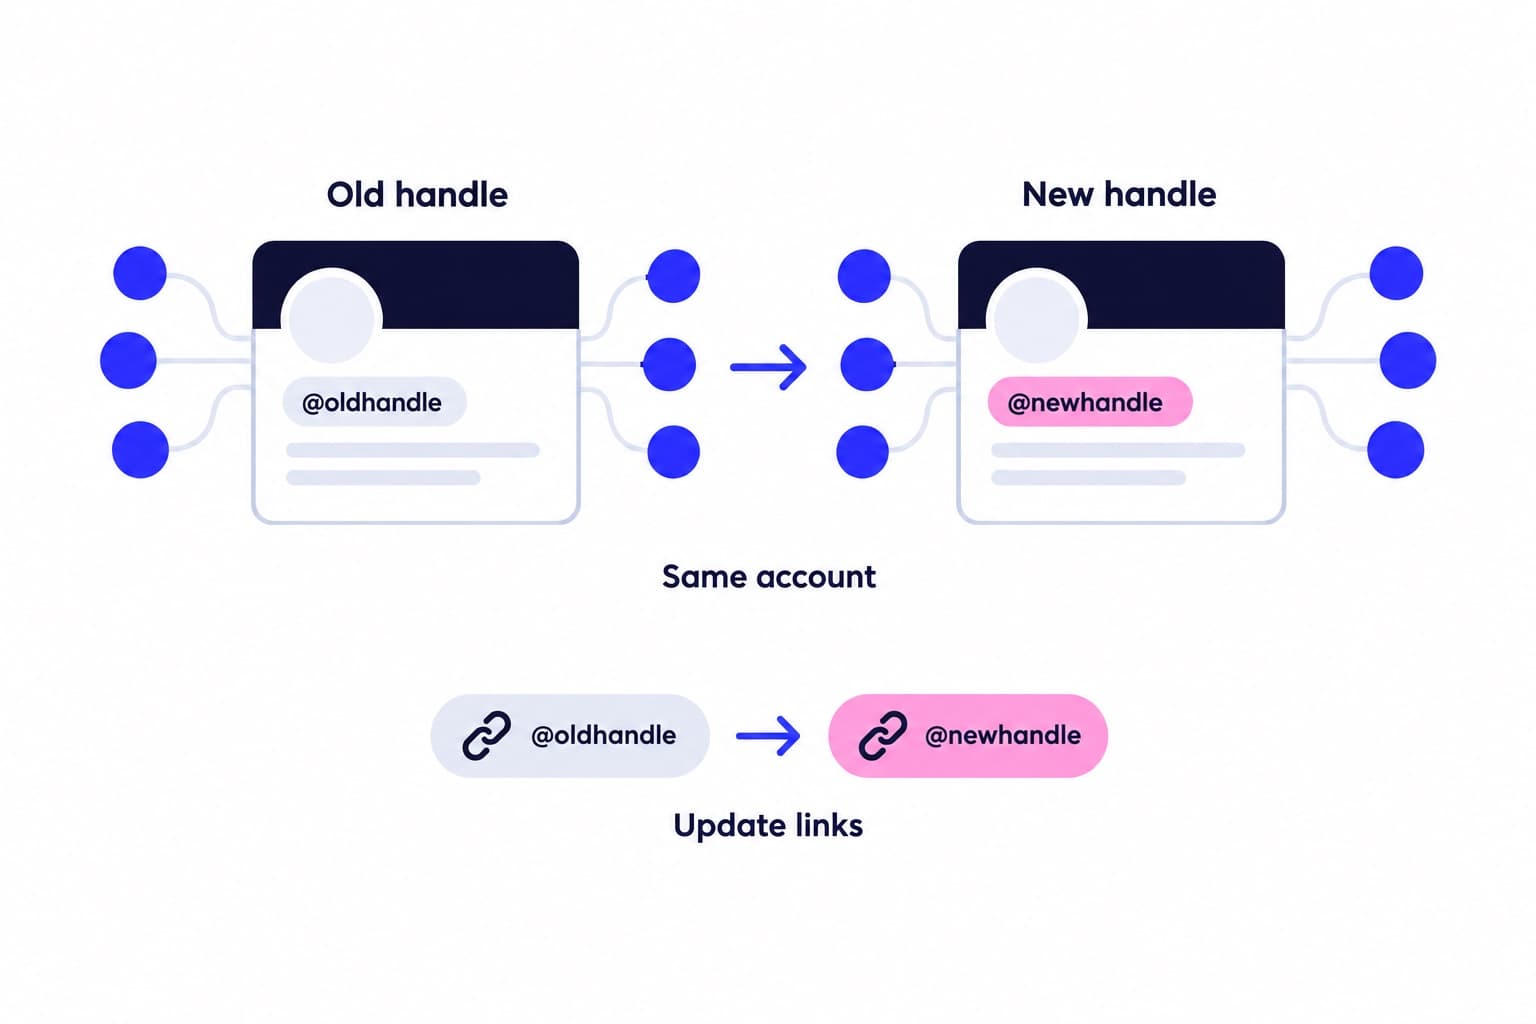
You can only do this in the Instagram app, not on a computer. Settle your username first, because once you're verified for notability you can't change it.
- Go to your profile and tap Menu (the three lines) in the top right.
- Below Your insights and tools, tap Professional dashboard, then tap Settings in the top right.
- Tap Request verification.
- Fill in the form, then tap Submit.
- Watch Activity: tap Notifications in the top right. Instagram's decision arrives there within 30 days.
How long verification takes, and what to fix if you're denied
Meta Verified is fast: three working days for the review once you've submitted your ID. The free request can take up to 30 days. Don't resubmit while you're waiting; Instagram says applying multiple times before a decision cancels your application.
If the answer is no, you can apply again after 30 days. I'd use that month to fix the specific gap rather than resubmitting the same thing:
- Thin coverage: aim for two or three independent articles that are about you, not just mentioning you.
- Sponsored pieces: swap them for earned coverage, since Instagram ignores paid media.
- Incomplete profile: public account, real photo, a bio that says who you are, and recent posts.
- Duplicate accounts: if you run several, request the badge for the main one only.
- Still not notable yet: subscribe to Meta Verified now and reapply for the free badge later.
Keeping the badge and spotting verification scams
Instagram can remove a notability badge if you sell, transfer or advertise it, use your bio or name to promote things that break its rules, try to get verified through a third party, or switch between public and private too many times. Meta Verified ends with your subscription: if you cancel, the badge stays until the end of the billing cycle, and you need to cancel at least 24 hours before the next payment.
The scam version is a DM or email offering a guaranteed badge for a fee, or warning that your account will be deleted unless you log in through a link. Real Meta email comes from addresses such as @meta.com or @facebookmail.com. If you clicked something, reset your password, log out of devices you don't recognize and turn on two-factor authentication. Our safety page explains how Ganicly works without ever needing your login, which is a useful yardstick for any service that contacts you.
Pick a pace
Questions
How do I get a blue check on IG?
Subscribe to Meta Verified with a government ID, or request the free badge in the app if you're notable. For the free route, go to your profile, tap Menu, then Professional dashboard and Settings, and tap Request verification. For Meta Verified, open Accounts Center and tap Meta Verified.
Can a regular person get verified on Instagram?
Yes. Meta Verified is built for regular creators and personal accounts, with no notability test. You need to be 18 or older in a supported country, show a government photo ID that matches your profile, turn on Advanced Protection and meet Meta's minimum activity requirements. Meta sends its decision within three working days of submitting.
How much is a blue check on Instagram?
The notability badge is free. Meta Verified is a monthly subscription: Standard is the entry tier and costs less on the web than in the app, while Plus, Premium and Max cost more and are sold in the app. Prices vary by country, are shown before you subscribe and renew automatically until you cancel.
How many followers do you need to get verified on Instagram?
None. Instagram's requirements don't set a follower minimum for either route. The free badge depends on being notable and covered by multiple news sources, while Meta Verified depends on identity and account activity. A larger, active audience still helps the free route indirectly, because it's what press and searchers notice first.
How long does it take to get verified on Instagram?
Meta Verified usually takes up to three working days after you submit your ID. A free badge request can take up to 30 days, and the answer appears in Activity. If you're denied, wait 30 days before applying again, and don't resubmit while one request is pending, because that cancels it.
Is getting verified on IG worth it?
For most active creators and small brands, yes. The badge signals that you're the real account, impersonation protection helps if copycats appear, and every Meta Verified plan includes discovery features like search optimization. Standard on the web is the lowest-risk way to try it, since you can cancel before the next billing date.